For a while now, I’ve wanted to play around with the art of making spa gift items – things like body lotions, soaps, candles, scrubs, and more – from scratch. I recently had an excuse to put together a gift box of such items, but decided I’d keep things easy and try my hand at making just one thing – soap. Wining Husband and I went to Michaels, where I found an embossed soap craft kit and a soap making kettle.

Well, I couldn’t wait to bust into my kit and get started, but I waited until I was finished with work today to dig in. So, I rewarded myself with an after-lunch soap making session. I was surprised by how incredibly easy it was (it was a beginner’s kit, after all). First, you place some squares of the melting glycerin into the soap kettle. (You can also melt them in the microwave).
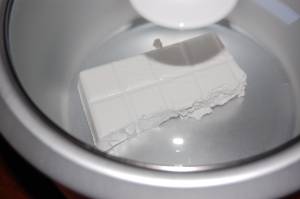
The kettle is like a crock pot just dedicated to soap making. Once the soap has melted, ladle the soap into a glass pouring container – I used a measuring cup that will be dedicated only to these sorts of projects. You can then add mica (the colorant for the soap) and fragrance. For the pink soap, I used red mica and gardenia fragrance that came with the kit. For the green soap, I used green mica that came with the kit and brandied apple fragrance I had on hand.
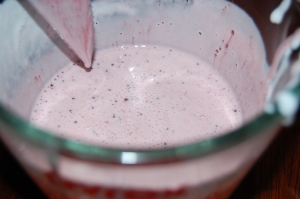
Once you have your soap well blended, you can then pour it into your mold. The molds I used came with the kit. If you’re also using an embossing stamp for the soap, that will go into the mold first, with just a dot of soap to hold it in place when pouring.
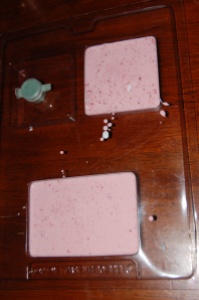
After the soap sets and is hardened, you’re going to apply pressure to the mold until the soap comes out. This is easier said than done! I cut around one edge of the soap to help it along. Patience goes a long way here. Finally, you’ll want to put your soap in plastic to protect it until you are ready to use it.
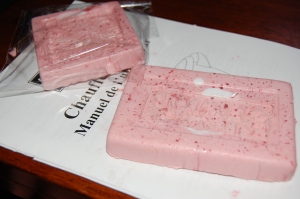
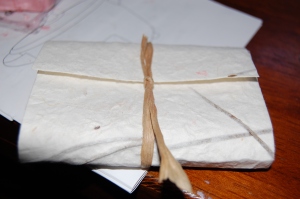
I decorated the red soap with some cute packaging since it’s a gift for a friend.
Then, I made two more squares of soap!
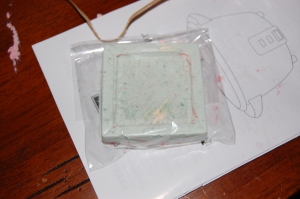
And
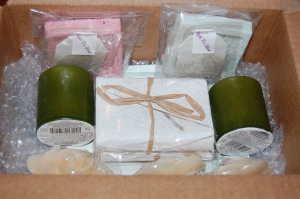
Finally, I packaged the soap up with some candles, and my gift is ready to go!
I cannot wait to get more molds and more colors!
Have you tried your hand at making soap or spa gifts before? What did you do? What did you use? Post your tips in the comments.
Related articles


